These juicy turkey sliders are my modern twist on grandma’s church potluck classics—packed with smoky paprika, sweet caramelized onions, and melty cheese. Perfect for game days or family nights, they deliver big flavor in small packages without fussy techniques. Below, I’ll share my foolproof recipe, plus answers to questions like how to prevent soggy buns and the best cheese pairings.
PART 1: From Potluck Staple to Party Favorite
Grandma’s Lessons in Flavor Alchemy
I’ll never forget standing on a wobbly stool in my Charleston grandma’s kitchen, watching her fold minced garlic and Worcestershire sauce into ground beef for sliders. Back then, beef ruled Southern potlucks—but these days, my lighter turkey sliders have stolen the spotlight. The secret? Treat lean turkey like a blank canvas: boost moisture with grated zucchini, depth with smoked paprika, and brightness with apple cider vinegar. This approach mirrors my technique for upgrading other comfort foods, like these hearty BBQ turkey burgers.
Why Turkey Sliders Win Every Time
Not only do turkey sliders cook 25% faster than beef (thanks to less fat), but they also let playful flavors shine. Last summer, I served a batch with peach-chipotle glaze at a food truck festival—they sold out in an hour! Whether you’re hosting a crowd or meal-prepping lunches, their versatility beats bulkier sandwiches. For more weeknight-friendly ideas, explore my 30-minute dinner solutions—but today, let’s master these little flavor bombs.
PART 2: Building Better Sliders: Ingredients & Method
Ingredients List
Makes 12 sliders
(Substitutions in parentheses)
- 1 lb ground turkey (93% lean for juiciness; chicken works)
- 1 small zucchini, grated (retains moisture; squish out excess liquid)
- 1 tbsp smoked paprika (adds BBQ-like depth)
- 2 tsp garlic powder
- 1 tbsp Worcestershire sauce (use vegan for gluten-free)
- 1 egg (binder; chia egg for vegan)
- 12 slider buns (potato or brioche; gluten-free if needed)
- 4 slices provolone, quartered (pepper jack for spice lovers)
- 1 white onion, thinly sliced
- 1 tbsp olive oil
- 1 tbsp mayo or melted butter (for bun toasting)
- Pickles & lettuce, for serving
Timing Breakdown
| Stage | Time |
|---|---|
| Prep | 15 mins |
| Cook | 20 mins |
| Total | 35 mins |
Step-by-Step Instructions
- Caramelize the onions: Heat olive oil over medium-low. Cook onions for 15 mins until golden, stirring occasionally.
- Mix the patties: Combine turkey, zucchini, spices, Worcestershire, and egg. Gentleness is key—overmixing makes tough sliders!
- Shape & cook: Form 12 small patties (1.5″ wide). Cook in batches over medium heat for 4 mins per side, until internal temps hit 165°F (USDA guideline).
- Toast the buns: Brush insides with mayo/butter. Toast in skillet for 1 min.
- Assemble: Layer patties on buns with cheese, onions, pickles, and lettuce.
Pro Tip: Prevent sogginess by brushing the bun’s top half with mayo—it acts as a moisture barrier!
PART 3: Next-Level Customizations
Cheese & Sauce Pairings That Wow
While provolone offers creamy mildness, bold cheeses transform turkey sliders. Try:
- Blue cheese crumbles + honey: Salty-sweet contrast
- Pepper jack + mango salsa: Tropical heat
- Cheddar + bacon jam (turkey bacon, halal-friendly)
For sauces, skip store-bought ranch. Whisk Greek yogurt with dill and lemon for tang, or blend roasted red peppers into a smoky aioli. These tweaks elevate sliders from casual to gourmet—ideal for pairing with other crowd-pleasing appetizers.
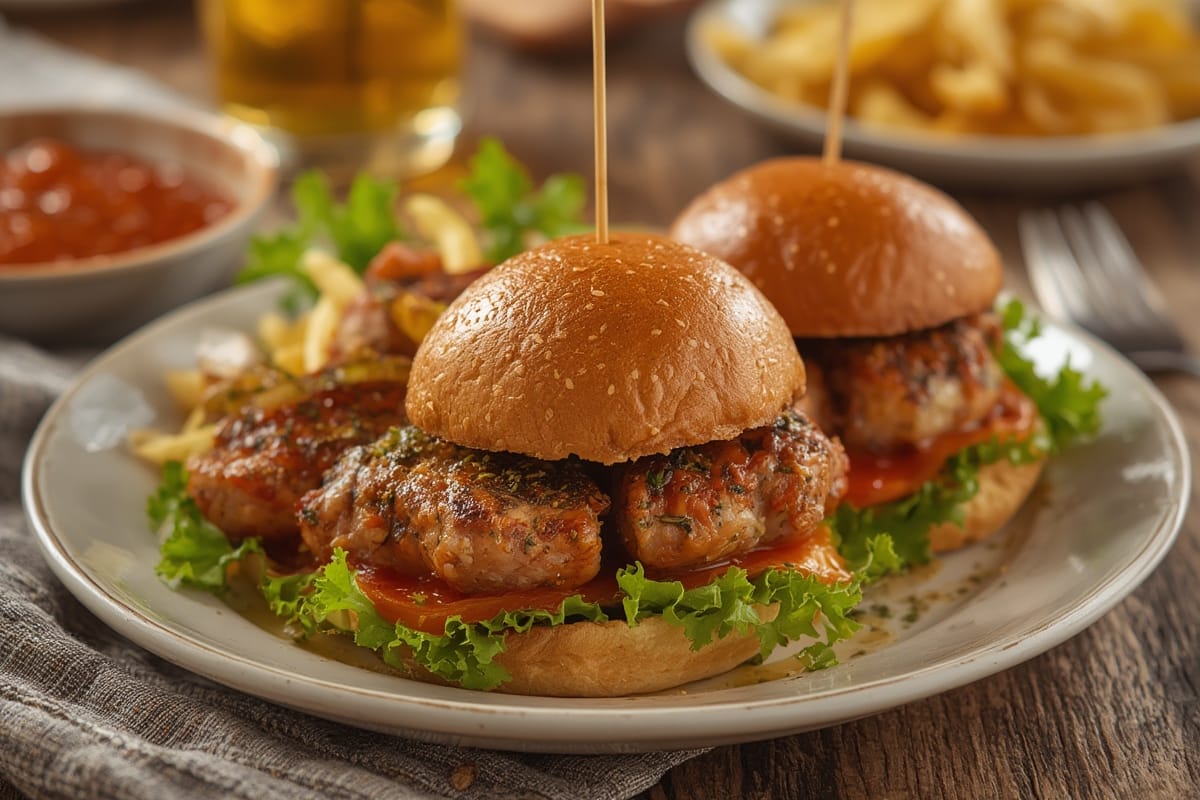
Presentation Tricks for Maximum Impact
Stack sliders on a wooden board with parchment paper. Spear each with a toothpick skewer to hold toppings in place, then drizzle sauce artistically around the platter. Add colorful sides like rosemary-roasted sweet potatoes or vinegar-based coleslaw (both balance turkey’s richness). If transporting, keep components separate until serving—this avoids the dreaded “soggy slider syndrome.”
PART 4: Make-Ahead Mastery & Storage
Prep-Ahead Game Plan
Form patties up to 24 hours early—store layered between parchment in the fridge. Caramelize onions 3 days ahead; reheat gently before using. Even buns can be pre-toasted! This strategy slashes day-of cooking time to 10 minutes, making turkey sliders a stress-free choice for hosting.
Storage & Reheating Done Right
Store leftover sliders (unassembled) in airtight containers:
- Patties: 3-4 days in fridge, 2 months frozen
- Onions: 1 week in fridge
Reheat patties in a skillet over medium-low with 1 tsp broth or water to retain moisture. Never microwave—it dries out turkey fast!
FAQs: Solving Common Turkey Slider Dilemmas
What buns are best for sliders?
Brioche adds buttery richness, while potato buns offer subtle sweetness. For crunch, try pretzel sliders—just avoid oversized ones that dwarf the patty.
How do you keep sliders from getting soggy?
Toast buns thoroughly, and layer lettuce between the patty and bottom bun. Also, add wet toppings (like sauce or tomatoes) just before serving.
What cheese/sauce pair well?
Swiss + garlic aioli, pepper jack + avocado crema, or feta + tzatziki. Avoid overly salty cheeses—turkey’s mildness needs balance.
Can you make sliders ahead?
Yes! Prep patties, onions, and sauce separately 1 day ahead. Assemble right before serving to maintain texture.
Conclusion: Small Bites, Big Memories
These turkey sliders embody my cooking philosophy: respect tradition (hey, Grandma), embrace innovation, and prioritize joy over perfection. Whether you’re feeding hungry teens or impressing book club pals, they prove that great flavor doesn’t need complexity. Share your slider stories with me @FlavivoRecipes—and for more easy-but-elegant mains, try my spinach-stuffed chicken breasts or zesty lemon shrimp pasta. Now go forth and make kitchen magic!
Short Recipe Summary: Juicy turkey sliders with smoked paprika, caramelized onions, and melty cheese on toasted buns. Ready in 35 mins! Mix turkey, grated zucchini, spices, and egg. Form patties, cook 4 mins/side. Assemble with toppings.