Nothing transports me back to my Charleston roots faster than the aroma of toasted oats and honey wafting through the kitchen. I’ll never forget the summer mornings my grandmother would hand me a mason jar of homemade granola bars before sending me off to explore the marshes. She’d wink and say, “Adventure fuel, MacMar!”—her version of I-love-you. Decades later, that simple act of care still inspires me. Today, we’re reclaiming snack time from overpriced, underwhelming store-bought options. Let’s craft homemade granola bars that hug your taste buds while fitting busy lives.
Why Homemade Granola Bars Beat Store-Bought Every Time
The Joy of Controlling Your Ingredients
Store shelves groan with granola bars hiding processed sugars and unpronounceable additives. When you make homemade granola bars, you wield the spatula—and the power. Want to swap refined sugar for maple syrup? Crave chia seeds over chocolate chips? Your kitchen, your rules. One batch can cater to allergies, diets, or whims. Plus, toasting your own oats unlocks a nutty depth no factory can replicate.
Saving Money (and Trips to the Store)
Let’s do quick math: A box of premium granola bars runs $5-$7 for 5 bars. Our recipe yields 12 bars for roughly $4 total. That’s 70% savings! Better yet? No emergency supermarket dashes when snack cravings strike. These homemade granola bars freeze beautifully, making “meal prep Sunday” your new secret weapon against hangry afternoons.
Building Your Ultimate Homemade Granola Bars
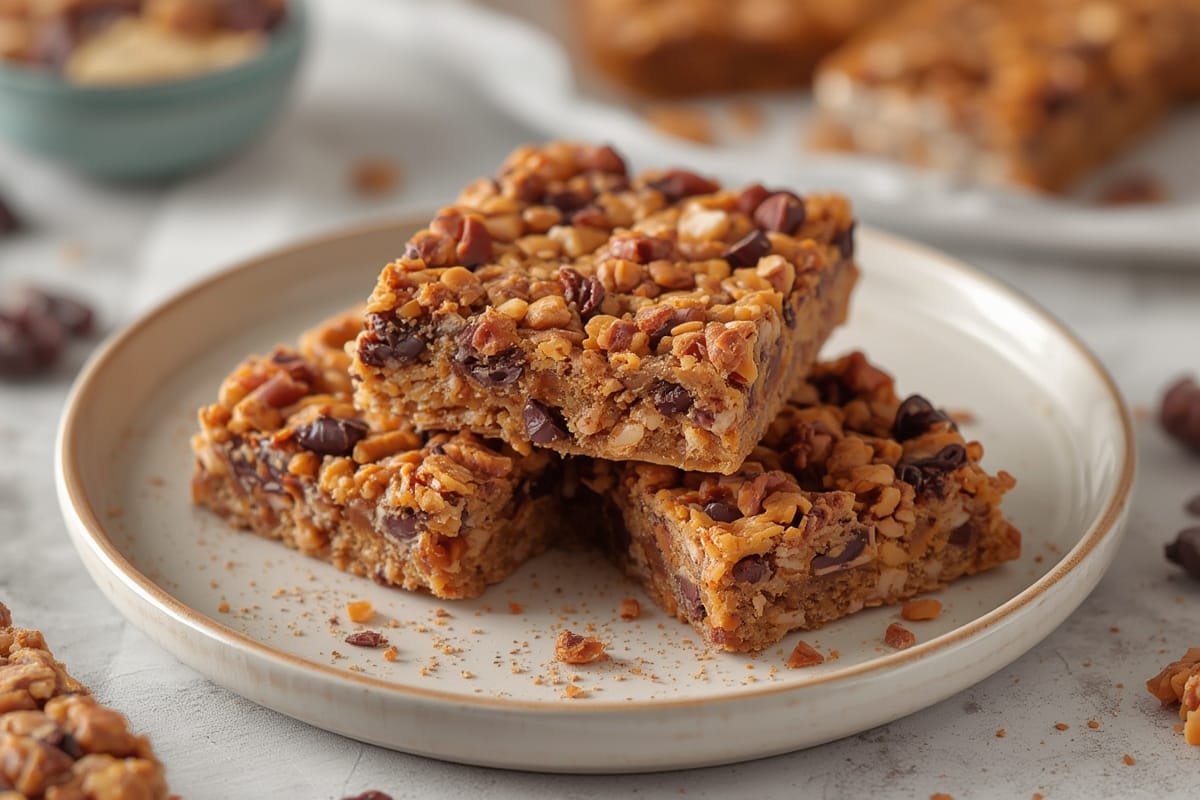
Ingredients: Flexible Foundations for Flavor Adventures
| Ingredient | Why It Works | Swaps & Subs |
|---|---|---|
| Rolled oats | Chewy, fibrous base | Gluten-free oats or quinoa flakes |
| Almond butter | Binds bars + healthy fats | Sunflower seed butter, tahini |
| Local honey | Natural sweetness | Maple syrup, date paste |
| Pumpkin seeds | Crunch + magnesium boost | Sunflower seeds, chopped walnuts |
Timing: Faster Than a Grocery Run
Active Prep: 15 minutes | Baking: 20 minutes | Chilling: 1 hour
Total Time: 1 hour 35 minutes (Versus store trips averaging 22 minutes + checkout lines!)
Step-by-Step: No-Fail Granola Bar Assembly
- Toast the Good Stuff: Heat oats and seeds at 350°F for 10 minutes until golden. This deepens flavors.
- Mix Wet & Dry Separately: Whisk almond butter and honey until smooth. Combine all dry ingredients in another bowl.
- Marry the Mixtures: Pour wet ingredients over dry. Fold until every oat glistens.
- Press Like You Mean It: Line an 8×8 pan with parchment. Pack mixture FIRMLY—this prevents crumbly bars.
- Chill Before Cutting: Refrigerate 1 hour. Slice into 12 bars using a pizza cutter dipped in hot water.
Customizing Your Granola Bars Like a Pro
Sweet vs. Savory Twists
Craving dessert? Fold in dark chocolate chips + orange zest. Need protein power? Add hemp seeds + collagen peptides (optional). For savory lovers, try smoked paprika + roasted almonds + a pinch of sea salt.
Allergy-Friendly Adaptations
Nut-free? Use sunflower seed butter and pepitas. Vegan? Opt for maple syrup over honey. Lower sugar? Reduce sweetener by 25% and add mashed banana for binding.
Storing Homemade Granola Bars for Maximum Freshness
Counter vs. Freezer Strategies
Tightly wrapped bars last 5 days at room temperature. For longer storage, freeze between parchment layers in an airtight container for up to 3 months. Thaw 15 minutes before eating.
Reviving Stale Bars
If bars dry out (rare with our recipe!), microwave 10 seconds with a damp paper towel over them. Alternatively, crumble over yogurt or ice cream for instant texture magic.
Conclusion
From my grandmother’s kitchen to yours, homemade granola bars are more than snacks—they’re edible love notes. They remind us that good food doesn’t need complexity, just intention. Whether you’re packing lunchboxes or fueling hikes, these bars adapt to your life’s flavor. Share them generously, knowing every bite carries the warmth of your hands. Now go toast some oats and let your kitchen smell like possibility. Curious how your batch turned out? Tag @FlavivoRecipes—we celebrate every kitchen triumph (and occasional smoke alarm)!