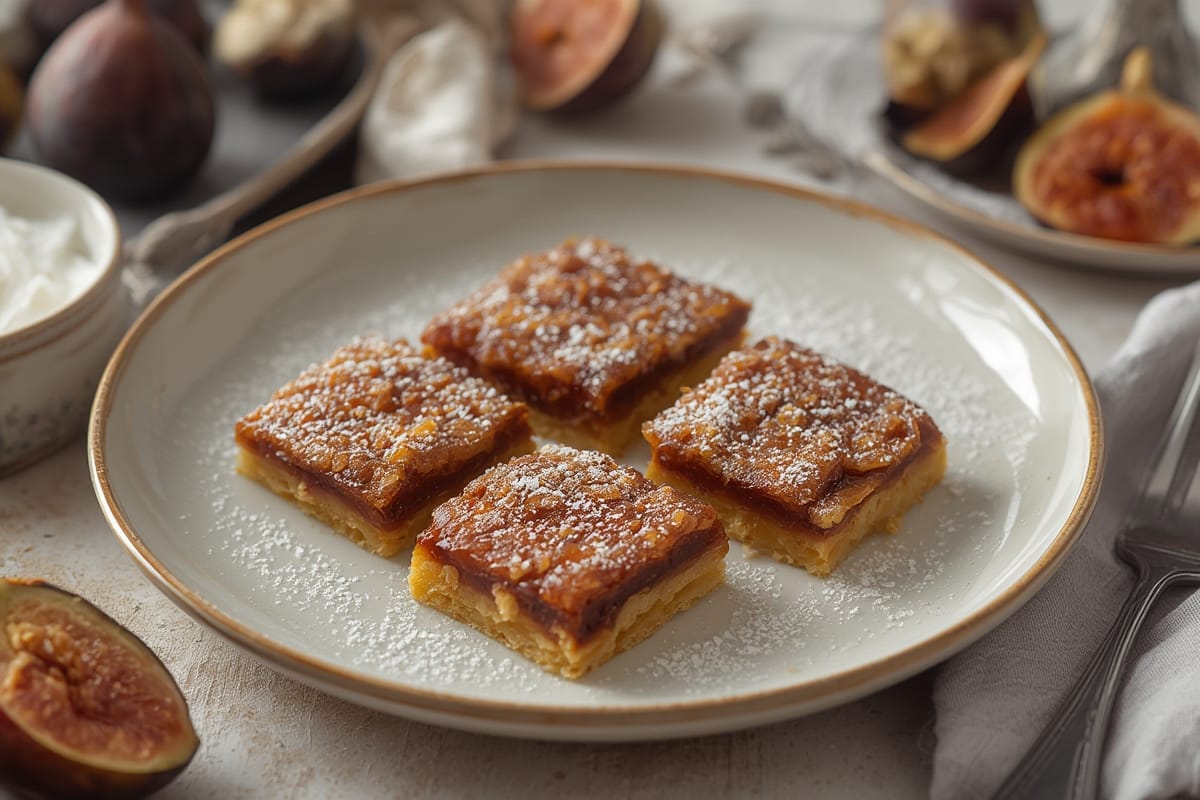
Homemade FIG BARS: A Nostalgic Treat Worth Baking
When golden sunlight streamed through Grandma Etta’s kitchen window, I knew what followed: the intoxicating aroma of caramelized figs simmering into jam. Those afternoons taught me that FIG BARS weren’t just snacks—they were edible love letters. Today, I’m sharing my spin on this heritage recipe, blending Charleston charm with foolproof techniques. Whether you’re craving nostalgia or exploring homemade pastries, these bars promise warmth in every bite.
Why FIG BARS Belong in Your Recipe Box
A Bite of Sweet History
FIG BARS trace back to ancient Mediterranean kitchens, but my version nods to Southern ingenuity. Unlike store-bought versions laden with corn syrup, ours spotlight plump Mission figs—nature’s caramel. Their honeyed sweetness pairs perfectly with a buttery crust reminiscent of shortbread cookies. Bonus? These treats freeze beautifully, making them ideal for surprise dessert emergencies!
Modern Twists on a Classic
While traditional FIG BARS stick to figs and oats, today’s bakers love creative riffs. Try folding orange zest into the filling for citrusy brightness, or swirl in tahini for nutty depth. Gluten-free? Swap all-purpose flour for almond flour—its richness elevates the crust. My recipe balances tradition with flexibility, ensuring even novice bakers succeed.
Crafting Your FIG BARS Masterpiece
Ingredients List
| Ingredient | Notes/Substitutes |
|---|---|
| 2 cups dried Mission figs | Turkish figs work too—avoid overly seedy varieties |
| 1/2 cup honey | Maple syrup for vegan option |
| 2 cups all-purpose flour | Gluten-free 1:1 blend or oat flour |
| 1/2 cup unsalted butter | Coconut oil (solid) for dairy-free |
| 1 tsp cinnamon | Cardamom adds exotic flair |
Timing Breakdown
| Stage | Duration |
|---|---|
| Prep (Filling + Dough) | 30 minutes |
| Chilling Dough | 1 hour (or freeze 20 mins) |
| Baking | 25–30 minutes |
| Cooling | 45 minutes (tough but essential!) |
Step-by-Step Instructions
- Simmer the Figs: Chop figs (stems removed), then combine with honey and 1 cup water in a saucepan. Boil, then reduce heat. Stir until jam-like—about 15 minutes. Cool completely.
Pro Tip: Blend half the mixture for smoother texture, keeping some chunks. - Make the Dough: Cut chilled butter into flour, cinnamon, and a pinch of salt until crumbly. Add ice water 1 tbsp at a time until dough forms. Divide into two discs; chill.
- Assemble Like a Pro: Roll one dough disc into a 12×8” rectangle. Spread fig filling, leaving a 1/2” border. Top with second rolled-out dough. Crimp edges with a fork.
- Bake to Golden Bliss: Brush crust with egg wash (or almond milk for vegan). Bake at 375°F until golden—25–30 minutes. Cool before slicing to avoid jam ooze!
Nutritional Perks + Flavor Pairings
FIG BARS: Surprisingly Wholesome
Figs deliver fiber (1 bar = 10% daily value), potassium, and antioxidants. Using whole-grain flour? You’ll add B vitamins. Compared to store brands packing 12g sugar per bar, ours use just 7g naturally from figs and honey.
Serve Them Right
Pair warm FIG BARS with sharp cheddar for sweet-savory bliss, or crumble over Greek yogurt. For beverages, try Earl Grey tea (bergamot highlights fig notes) or cold almond milk. Hosting? Arrange bars on a rustic board with walnuts and dark chocolate shards.
Troubleshooting + Storage Hacks
Common FIG BAR Fixes
Crust cracks while rolling? Dough’s too cold—let it rest 5 minutes. Filling too runny? Simmer 5 more minutes; add 1 tsp chia seeds to thicken. Bars soggy after baking? Ensure filling cools completely before assembly.
Keep Them Fresh
Store baked FIG BARS airtight for 5 days. Freeze unbaked dough or cooked bars for 3 months—thaw overnight before serving. Revive stale bars: microwave 8 seconds or crisp in a 300°F oven 5 minutes.
Conclusion: Your FIG BAR Journey Starts Here
Nothing bridges generations like shared recipes, and these FIG BARS carry that legacy forward. Whether you’re honoring family traditions or creating new ones, each bite whispers comfort. Now grab those figs—and let’s make magic!