Halloween is one of my favorite times to let loose in the kitchen—it’s where creativity meets cookies, and spooky turns sweet. In this article, I’ll walk you through everything you need to bake the best Halloween cookies, from scratch-made sugar cookie dough to decor ideas and helpful FAQs. Whether you’re baking for a school party, a haunted house bash, or simply sneaking midnight bites, these recipes bring flavor, fun, and flexibility for kitchen wizards of any level.
Let’s kick things off with a story about where my love for Halloween cookies began—and how you can make them magical in your own creative way.
The Story Behind the Cookies
From Childhood Ghost Stories to Frosted Memories
Growing up in Charleston, Halloween had a rhythm of its own. Falling leaves crunched beneath costumes, porch lights flickered with candle jars, and in the middle of it all, my grandmother’s tiny kitchen shined brightest. She didn’t use mixers or timers—instead, she pressed shapes into hand-rolled dough she could almost measure by smell alone. I was eight the first time I helped her make what we now call Halloween cookies. We cut bats and pumpkins with old tin cutters and used spoonfuls of colored sugar to decorate their tops.
Years later, even after some culinary training and running everything from a food truck window to holiday potlucks filled with tester recipes, I’ve never stopped making Halloween cookies. But these days, I’ve elevated them with gentler spices, bold colors, and smarter icing.
Halloween cookies aren’t just sugar cookies with orange frosting. They’re edible memories—soft, crispy, gooey, and mysterious little treats that tell a story. I love folding surprise ingredients like brown butter or a sprinkle of cinnamon into the dough to make them stand out on any treat table. These cookies are about making spooky delicious, and playful irresistible—with none of the intimidation of royal icing tutorials required.
Using accessible ingredients and zero fancy gear, you’ll create cookies that excite kids and impress adults. In this apple-cider-baked-donuts article, I shared how seasonality boosts flavor. That same spirit lives inside these Halloween cookies too. And just like with our cake-pop-funfetti-recipe, the focus here is flavor-forward fun with easy, joyful steps.
So grab your mixing bowl and let’s embrace the holiday spirit—the MacMar way.
How to Make Halloween Cookies from Scratch
Ingredients List
You don’t need anything fancy to make these fun and flavorful Halloween cookies at home. This easy sugar cookie base is buttery and bakes up with perfectly crisp edges and soft centers—ideal for decorating.
| Ingredient | Quantity |
|---|---|
| All-purpose flour | 2¾ cups |
| Unsalted butter (softened) | 1 cup |
| Granulated sugar | 1 cup |
| Large egg | 1 |
| Pure vanilla bean | 1½ tsp |
| Baking powder | ½ tsp |
| Salt | ¼ tsp |
Optional Add-ins:
- ½ tsp ground cinnamon (for spiced cookies)
- Gel coloring for festive dough (orange, purple, green)
- Candy eyeballs, edible glitter, or melted chocolate for decorating
I always remind people you don’t need perfect tools to make these work. You can see that in my vegan chocolate chip banana bread, where creativity drives the outcome more than equipment.
Timing: Prep to Party
Set aside a couple of hours to give these cookies your best effort. Here’s what to expect:
- Prep time: 15 minutes
- Chill time: 1 hour (crucial for clean edges)
- Bake time: 8–10 minutes per batch
- Decorating time: 30–60 minutes depending on details
- Total time: About 2 to 3 hours
That’s about 20% less than over-the-top cookie cutter tutorials, and honestly, way more fun. I love teaching time-efficient baking tricks—like in our easy peanut butter oatmeal cookies, where relaxing into the rhythm makes all the difference.
Step-by-Step: Let’s Bake!
- Cream butter and sugar together until light and fluffy (about 2–3 minutes). This step is key—don’t rush it!
- Beat in your egg and vanilla. If you’re adding cinnamon or zest, this is the time.
- In a separate bowl, whisk together flour, baking powder, and salt.
- Gradually add dry ingredients to the wet mixture. The dough will seem stiff—that’s perfect.
- Divide into two disks, wrap in plastic wrap, and chill for one hour.
- Roll dough to ¼-inch thickness on a floured surface. Cut into spooky shapes.
- Place on parchment-lined sheet and bake at 350°F for 8–10 minutes.
- Cool completely before decorating with royal icing, glaze, or melted chocolate.
Pro-tip: For vibrant icing ideas and color-safe tips, reference the FDA’s food color additive chart to keep things festive and kid-safe.
Decorating & Presenting Halloween Cookies
How to Decorate Halloween Cookies Easily
Many people assume decorating cookies means using piping bags and Instagram-perfect technique. Not here. For approachable designs, start with:
- Flooding glaze made of powdered sugar, milk, and vanilla
- Spoons or small squeeze bottles instead of piping bags
- Toothpicks or chopsticks to swirl different colors and create spiderwebs or mummy wraps
- Candy pieces or gel pens for eyeballs and monster faces
Setting up a cookie decoration station, like I mentioned in our rainbow birthday sugar cookies, turns decorating into a fun hands-on experience even kids can do.
Packaged with Style (and Safety)
Once your creations are dry—and that glaze sets pretty quick—you can box them up for school or gift them in food-safe treat bags.
Safe handling matters too. Just like in the vegan food safety article on our site, I suggest always letting cookies fully cool before storage to prevent moisture buildup.
Store cookies in an airtight container layered with parchment. If freezing, refer to FAQs below—even decorated cookies freeze beautifully!
The Ultimate Halloween Cookie Variations
Flavor Twists You’ve Got to Try
Halloween cookies don’t have to be just vanilla-forward! Let’s jazz them up.
- Swap ¼ cup flour for cocoa powder for spooky dark chocolate cookies
- Add 1 tsp pumpkin pie spice for an autumn twist
- Drop in mini chocolate chips for extra bite
- Blend in matcha for green ghoulish dough
Some of the most-loved recipes on FlavivoRecipes—like our peppermint mocha cookie bars—are born from curiosity and flavor layering.
Party Platter Perfection
Here are fun-themed cookie platter ideas:
- “Witch’s Bites” = hat-shaped cookies with purple icing and candy stars
- “Monster Mash” = round cookies with mismatched eyes
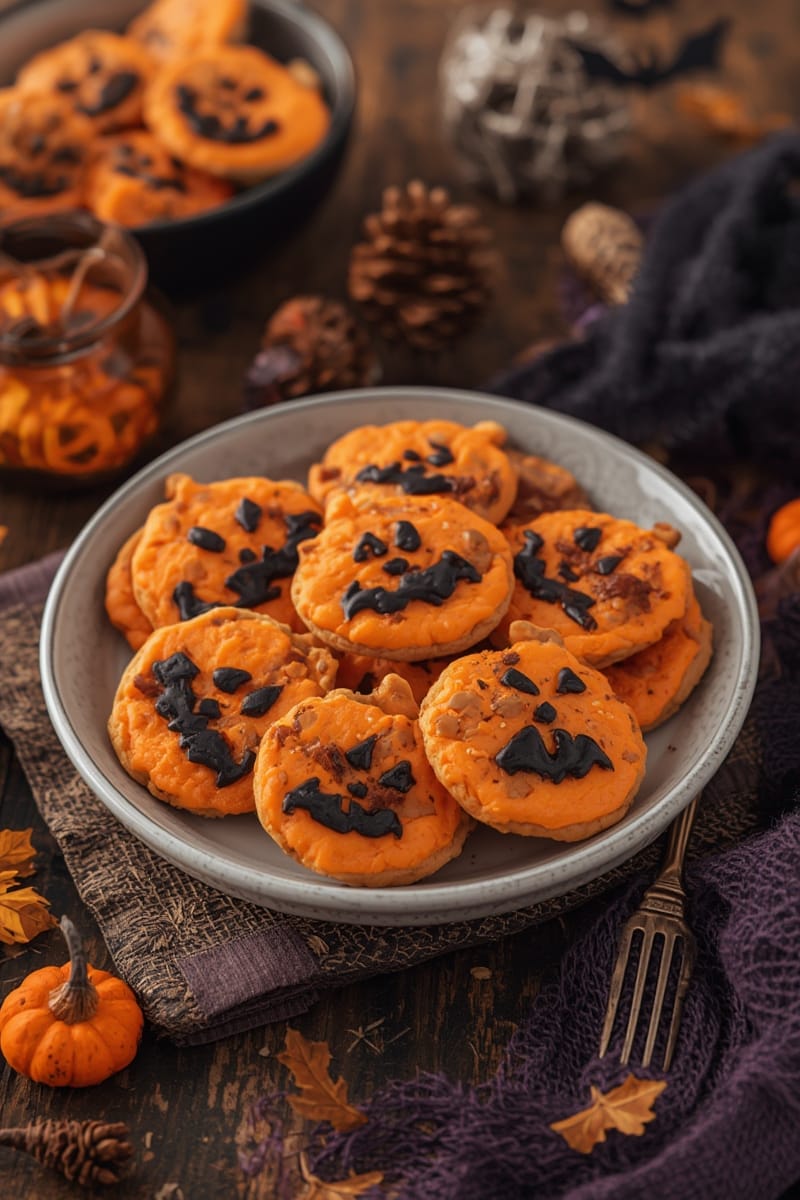
- “Pumpkin Patch Bites” = orange cookies with cinnamon stems
Arrange them around a dipping bowl of edible cookie icing or include double batches of chocolate almond flour cookies in spooky shapes.
🕸 Remember: More variation equals more WOW factor without adding more stress.
FAQs About Halloween Cookies
How do you decorate Halloween cookies easily?
Use squeeze bottles, spoons, and toothpicks to apply icing. Keep icing simple (just powdered sugar and milk), and let kids help with candy additions. No need for fancy tools!
What icing is best for sugar cookies?
Royal icing sets firm and smooth, making it perfect for stacking. For a soft sheen with easier application, a simple glaze of powdered sugar and milk works great.
Can you freeze decorated cookies?
Yes! Once icing is set, store cookies in layers with parchment between them. Freeze in airtight containers for up to 2 months.
How long do decorated cookies last?
Stored in a cool, airtight container, decorated Halloween cookies last for 5–7 days at room temperature or longer when frozen.
Conclusion
Halloween cookies don’t just feed the party—they create memories that last beyond the sugar coma. Whether you’re a first-time baker or love testing themed treats every year, these cookies are your canvas. With carefully chosen ingredients, some inspiration, and lots of heart, you’ll turn ordinary dough into edible magic.
From my grandmother’s Charleston counter to your oven today, every cookie is more than a treat. It’s tradition, invention, and a little bit of fun rolled into one.
Want to keep the fall baking magic alive? Try our chewy cinnamon apple cookies next.
And don’t forget—keep experimenting, keep tasting, and keep that smoke alarm handy. Just in case.