Sugar cookies aren’t just treats—they’re edible memories. As a kid in Charleston, I’d stand on a stool beside my grandmother, mesmerized as she transformed butter and sugar into golden masterpieces with nothing but intuition and a wooden spoon. Decades later, after countless burnt batches and kitchen experiments, I’ve perfected an easy, no-fuss sugar cookie recipe that honors her legacy. In this guide, I’ll share secrets for soft-centered, crispy-edged cookies that don’t spread, plus my favorite icing tricks. Whether you’re baking for holidays or just craving nostalgia, these sugar cookies promise foolproof joy.
Part 1: The Magic of Simple Sugar Cookies
Why These Sugar Cookies Became My Signature
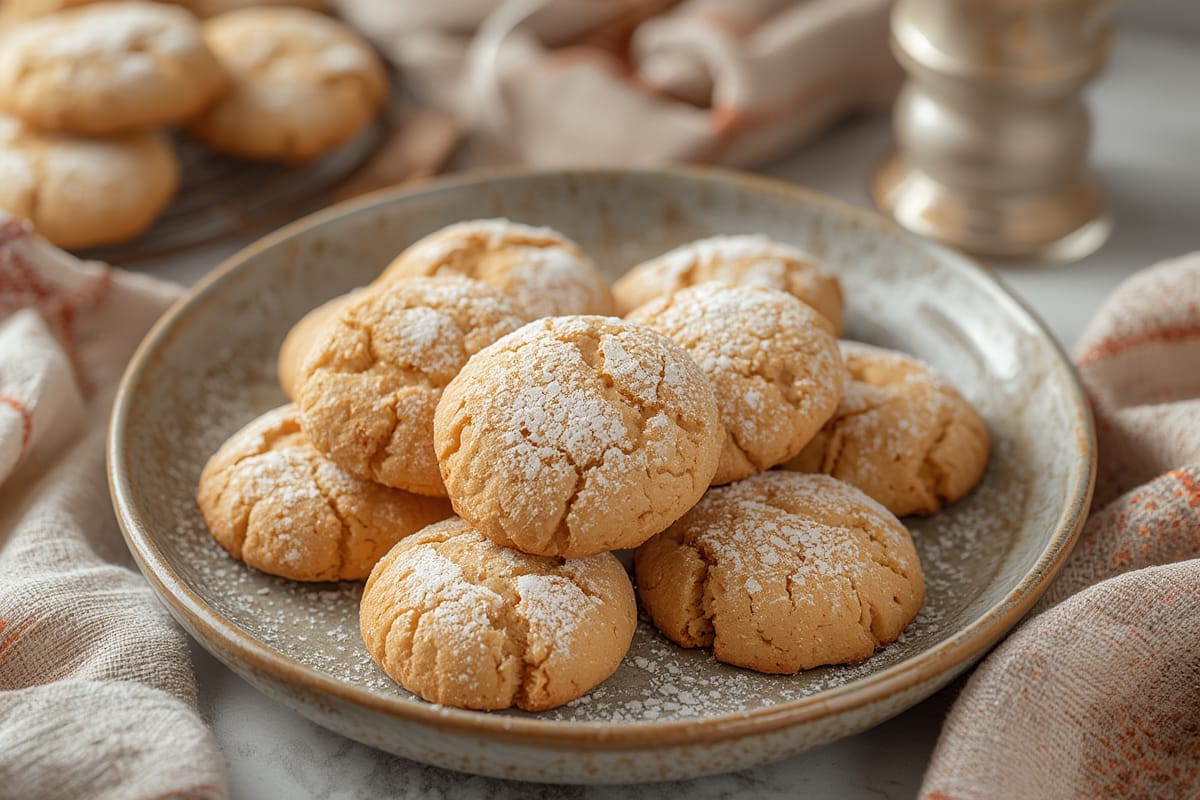
My grandmother never measured ingredients—she’d hum gospel hymns while tossing flour “until the dough felt right.” Her sugar cookies were legendary: crisp at the edges yet pillowy inside, with cracks that cradled crystal sugar. When I started my food truck years ago, I aimed to recreate that texture but simplify the process. After 43 test batches (yes, I counted!), I realized the secret wasn’t fancy tools—it was embracing imperfection. These cookies won’t look machine-made, and that’s good. Their rustic charm mirrors the hands that made them.
The Science Behind a Perfect Sugar Cookie
Sugar cookies seem deceptively basic, but tiny tweaks change everything. Cornstarch guarantees tenderness, while chilling prevents pancake-flat fails. Most crucially, creaming butter just until sandy incorporates air gently, keeping cookies thick. Unlike intricate French pastries in my advanced baking tips, this recipe thrives on intuition—like grandma’s hands guiding yours.
Part 2: The Foolproof Recipe
Ingredients List: Pantry Stars Only
| Ingredient | Why It Matters |
|---|---|
| 2½ cups all-purpose flour | Provides structure; fluff before measuring! |
| 1 tsp cornstarch | Secret for melt-in-mouth centers |
| 1 cup unsalted butter (softened) | Use real butter—margarine spreads too thin |
| 1½ cups granulated sugar | For crunch; swap ¼ cup with brown sugar for depth |
Substitutions: Gluten-free? Use 1:1 GF flour + 1 tsp xanthan gum. Vegan? Coconut oil works, but chill dough longer.
Timing & Tools: Less Waiting, More Baking
- Prep: 15 mins (Make dough)
- Chilling: 1 hour (Critical for shape!)
- Baking: 9–11 mins per batch
- Total: 1 hour 30 mins (≈40% faster than frosted cut-outs)
You’ll need: mixer (or strong arms!), baking sheets, and parchment paper. Silicone mats work, but parchment yields crispier bottoms—key for my cookie texture mastery techniques.
Step-by-Step Instructions
- Cream Butter & Sugar: Beat softened butter with sugar on medium until sandy—not fluffy! Overbeating = flat cookies.
- Add Wet Ingredients: Mix in 1 egg + 2 tsp vanilla (or almond extract for nuance).
- Incorporate Dry Stuff: Whisk flour, cornstarch, baking powder, and salt. Gradually add to butter mix until just combined.
- Chill: Divide dough into two discs, wrap in plastic, and refrigerate 1 hour. Overnight? Even better—it deepens flavor.
- Roll & Cut: Sprinkle flour on surfaces lightly. Roll dough ¼-inch thick. Use mason jar lids if no cookie cutters!
- Bake: At 375°F (190°C) for 9–11 mins—edges should blush golden. Centers seem underdone? Perfect; they’ll firm up cooling.
Pro Tip: For uniformly thick cookies, try my baking hacks every home cook needs. Rotate pans halfway through baking!
Part 3: Decorating Like a Pro
Royal Icing vs. Buttercream: The Sweet Showdown
Royal icing (egg whites + powdered sugar) gives smooth, hard-drying finishes—ideal for intricate designs. Buttercream is creamy and forgiving for kids’ hands. My hybrid hack: Thinned royal icing floods cookies fast, then pipe buttercream details. Need food-safe coloring? Gel dyes like those recommended by FDA guidelines prevent watery icing.
Avoiding Sugar Cookie Disasters
- Spreading: Dough too warm? Chill longer. Baking powder expired? Test it!
- Tough Cookies: Overmixed dough develops gluten. Stir until just blended.
- Bland Flavor: Add ¼ tsp nutmeg or lemon zest to dough—it wakes up the vanilla!
Part 4: Storing & Gifting Secrets
Making Sugar Cookies Last (If They Don’t Vanish First!)
Store decorated cookies airtight between parchment layers. Royal icing keeps 3 weeks; buttercream 5 days. Freeze undecorated dough for 3 months—thaw overnight before rolling. Curious about gifting? My homemade edible gift ideas use recycled jars for charm!
Sugar Cookies Beyond Holidays
Shape dough into circles, press thumbprints, fill with jam post-bake. Or crumble over ice cream—weeknight magic.
FAQs
How do you keep sugar cookies from spreading?
Chill dough at least 1 hour, avoid overcrowding pans, and bake on parchment-lined sheets. Warm dough = spreading!
Do you need to chill sugar cookie dough?
Yes! Chilling solidifies butter, prevents flattening, and lets flavors meld. Overnight boosts taste even more.
What icing is best for decorating?
Royal icing for detailed work (dries hard). Buttercream for softer, creamy textures.
How long do decorated cookies last?
2–3 weeks airtight with royal icing; 5 days with buttercream. Freeze undecorated cookies for 3 months.
Conclusion: Bake With Boldness
These sugar cookies aren’t about perfection—they’re about stained aprons, licked spoons, and laughter when shapes go wonky. As my grandma said: “If cookies look ‘too pretty,’ you didn’t make ‘em with love.” Share them proudly. And when your smoke alarm sings? Just call it applause.
100-Word Recipe Summary
MacMar’s Nostalgic Sugar Cookies
Makes 24 cookies
Cream 1 cup softened butter + 1½ cups sugar until sandy. Mix in 1 egg + 2 tsp vanilla. Whisk 2½ cups flour, 1 tsp cornstarch, ¾ tsp baking powder, ½ tsp salt; blend into butter mix. Chill dough 1 hour. Roll to ¼-inch thick; cut shapes. Bake at 375°F for 9–11 mins. Cool completely before icing. Pro tip: For crisp edges, roll dough between parchment—no extra flour needed! Decorate with royal icing or buttercream. Store airtight up to 3 weeks.