There’s something magical about transforming a traditional dessert into individual servings—especially when it’s as beloved as tiramisu. These Tiramisu Cups capture all the creamy, coffee-kissed elegance of the original but in playful, no-fuss portions perfect for dinner parties or solo treats. My grandmother’s tiramisu was a towering masterpiece, but I’ve streamlined her magic into grab-and-go glasses that honor her spirit while embracing modern convenience. Whether you’re craving a nostalgic bite or hosting friends, this guide covers everything from ingredient swaps to foolproof assembly.
PART 1: Why Tiramisu Cups Stole My Heart (and My Dinner Parties)
The Night I Ditched the Dish for Glasses
Picture this: It’s 2017, and I’m juggling a platter of classic tiramisu at a Charleston rooftop potluck. A gust of wind nearly sends cocoa powder flying into the harbor. That’s when I thought—why not layer these flavors in sturdy cups? My first batch of Tiramisu Cups was born from necessity, but they became a revelation. Individual portions meant no soggy layers, portion control (theoretically), and effortless serving. Now, they’re my most requested item at gatherings—even my grandma admits they’re “pretty clever.”
How Tiramisu Cups Celebrate Creativity
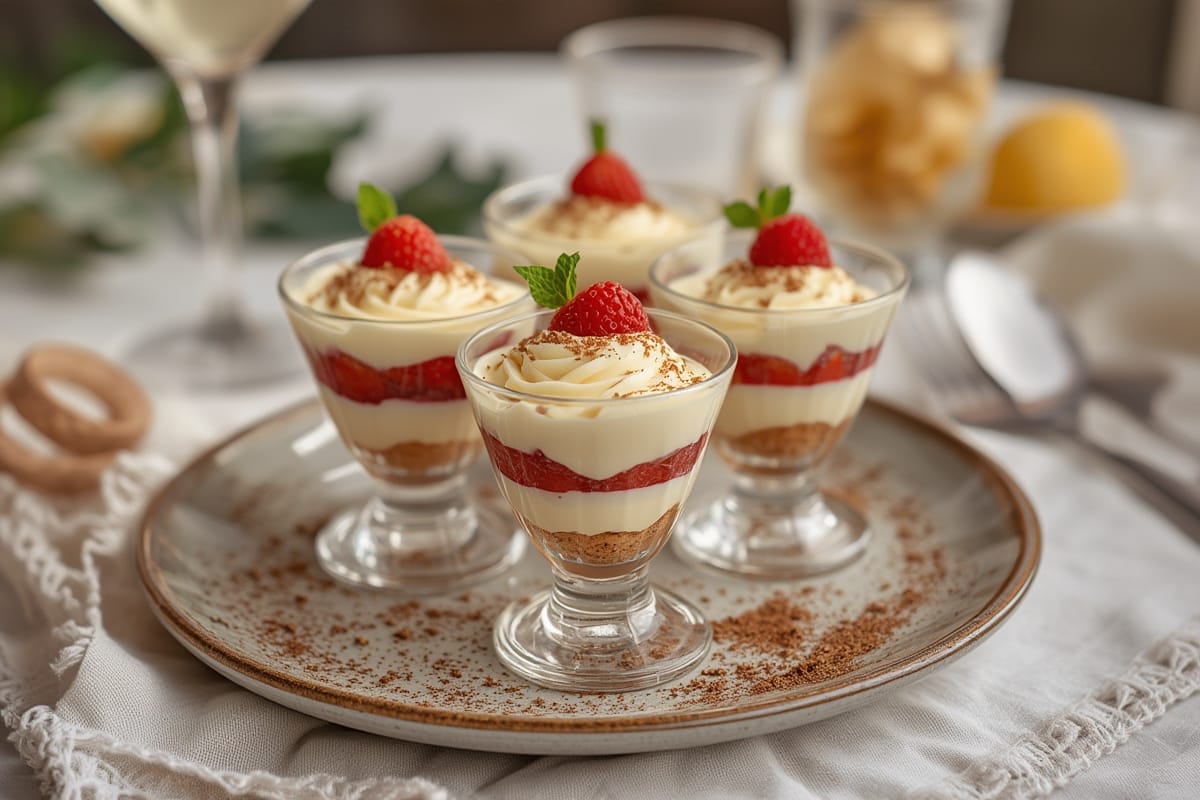
Unlike their monolithic counterpart, Tiramisu Cups invite experimentation. I’ve layered them with fresh berries for summer, swapped espresso for chai in fall, and even created kid-friendly versions without coffee. Their versatility mirrors my cooking philosophy: respect tradition but play fearlessly. If you’re new to dessert-making, these cups are forgiving—no precise slicing, just joyful stacking. For more no-bake inspiration, explore my berry parfait recipe, which uses similar layering techniques.
PART 2: Crafting Your Tiramisu Cups: Ingredients, Timing & Technique
Ingredients List: Simple Stars with Room for Swaps
Makes 6 servings
| Ingredient | Notes & Substitutions |
|---|---|
| 24 ladyfinger cookies (savoiardi) | GF? Use crisp gluten-free biscuits. Shortbread works in a pinch! |
| 1½ cups strong brewed coffee, cooled | Decaf works too. Swap with chai for a fun twist. |
| 16 oz mascarpone cheese | For lightness, blend with whipped cream cheese. |
| ¾ cup powdered sugar | Adjust to taste—some prefer it less sweet. |
| 1 tsp vanilla extract | Or scrape a vanilla bean for intense flavor. |
| Unsweetened cocoa powder | Dutch-process adds depth, but any works. |
Timing: Faster Than Ordering Delivery
Active Time: 20 minutes | Chilling Time: 4 hours
Traditional tiramisu demands overnight setting, but Tiramisu Cups need just 4 hours—ideal for last-minute plans. That’s 60% less waiting than the classic method!
Step-by-Step Instructions: Layer Like a Pro
- Whip the Dreamy Filling: Beat mascarpone, powdered sugar, and vanilla until silky. Don’t overmix—it should ribbon off the spatula.
- Dip, Don’t Drown: Briefly submerge each ladyfinger into cooled coffee (2 seconds max). Soggy cookies ruin the texture!
- Build Strategically: Start with cookies, then mascarpone blend, then cocoa. Repeat. End with a cocoa dusting.
- Chill to Set Magic: Refrigerate cups covered for at least 4 hours. This melds flavors and firms the layers.
Pro Tip: Use piping bags for neater cream layers—great for kids helping in the kitchen! For more make-ahead desserts, try my no-churn coffee ice cream.
PART 3: Tiramisu Cups Variations & Troubleshooting
Alcohol-Free Joy (Without Sacrificing Flavor)
Skip the rum? No problem. Amplify depth with ½ tsp cinnamon in your coffee or use almond extract alongside vanilla. A splash of orange juice also brightens the cream beautifully. Research from Harvard’s Nutrition Source shows coffee’s natural complexity enhances desserts without added spirits.
Fixing Common Hiccups
Too Runny? Your mascarpone might’ve been too warm. Chill the mixture 10 minutes before re-layering. Bland Coffee Kick? Boost brewed coffee with 1 tsp instant espresso granules—it’s my cheat code for intensity.
PART 4: Serving & Storing Your Tiramisu Cups
Presentation That Wows
Serve in clear glasses to showcase layers—mason jars for rustic charm or vintage coupes for elegance. Garnish with chocolate shavings, mint, or edible flowers. For events, I prep cups 1 day ahead; the flavors deepen beautifully.
Keeping Them Fresh
Cover cups tightly with plastic wrap. They’ll stay perfect for 3 days—though crumbs disappear fast! Freezing isn’t ideal (texture turns gritty), so share extras with neighbors. Need more dessert shelf-life tips? My guide to storing baked goods covers all bases.
FAQs: Your Tiramisu Cups Questions Answered
What cookies work for tiramisu cups?
Traditional ladyfingers (savoiardi) are ideal, but crisp biscotti or even gluten-free shortbread substitutes well. Avoid soft cookies—they turn mushy.
How long to chill tiramisu cups?
Minimum 4 hours, but 6 is better. This sets the cream and melds flavors.
Can you make them alcohol-free?
Absolutely! Omit rum and enhance coffee with spices like cinnamon or cardamom.
How long do they last?
3 days refrigerated. Dust with fresh cocoa before serving if stored overnight.
Conclusion: Share the Sweetness (and the Stories)
These Tiramisu Cups embody everything I love about cooking: tradition made approachable, creativity without pretension, and desserts that spark connection. Whether you’re revamping a family favorite or discovering tiramisu for the first time, remember—it’s not about perfection, but the joy of crafting something with your hands (and maybe licking the spatula). I’d love to hear your twists! Tag @FlavivoRecipes on social media with your creations. For more comforting classics with a twist, browse my Italian-inspired desserts collection.
100-Word Recipe Recap: Tiramisu Cups
Layer coffee-dipped ladyfingers (dip 2 seconds!) with whipped mascarpone (16 oz + ¾ cup powdered sugar + 1 tsp vanilla). Dust each cream layer with cocoa powder. Chill 4+ hours. Use gluten-free cookies or decaf coffee as needed. Alcohol-free? Add cinnamon to coffee instead of rum. Store covered up to 3 days. Serves 6.