The Joy of Homemade Vanilla Fudge: Comfort in Every Bite
PART 1: Grandma’s Vanilla Fudge Legacy
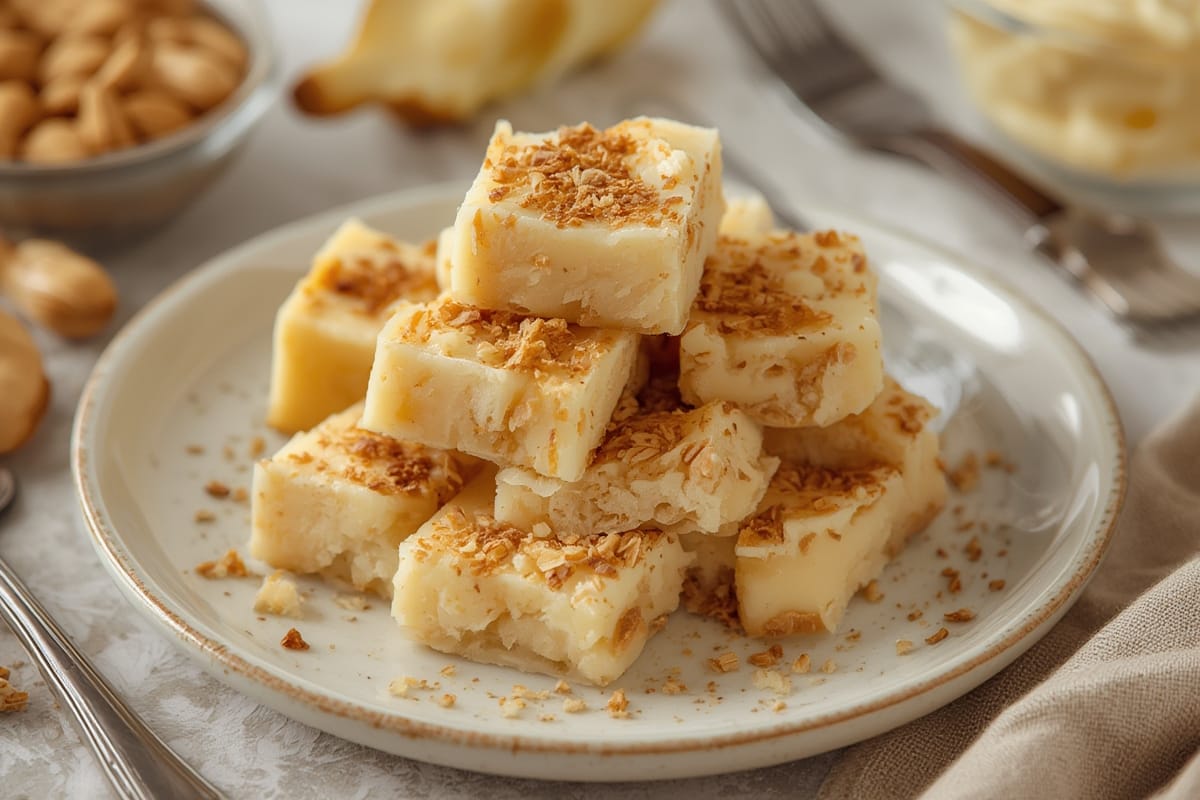
When I close my eyes and think about childhood summers in Charleston, I always smell melted sugar and butter wafting from Granny Mae’s kitchen. She’d stand over her old copper pot, wooden spoon in hand, whispering “Patience, Mac” as I bounced nearby waiting to lick the spoon. Her vanilla fudge wasn’t just candy – it was love solidified into creamy squares. One sticky July afternoon, she let me stir the bubbling pot for the first time. I nearly scorched the batch, but she laughed as we salvaged it together. Those imperfect pieces, speckled with vanilla bean flecks, tasted sweeter than any prize-winning confection. Today, I’ve perfected her classic vanilla fudge recipe while keeping its soul intact. Below, you’ll find my foolproof method for creating this melt-in-your-mouth treat faster than singing “Happy Birthday” 40 times.
Why Vanilla Fudge Defines Comfort
Vanilla fudge dances between simplicity and decadence – humble pantry staples transformed through heat and care. Unlike temperamental chocolates or finicky caramel, this forgiving sweet welcomes kitchen newcomers while rewarding seasoned cooks with its silky texture.
The Magic of Temperature Control
Every great vanilla fudge hinges on one non-negotiable: precise temperature monitoring. Granny Mae lacked digital thermometers, relying instead on the “soft-ball stage” test. We’ll merge her wisdom with modern tools for foolproof results every time.
PART 2: Crafting Your Perfect Vanilla Fudge
Ingredients List: Simple Staples, Big Impact
Here’s what you’ll need for velvety vanilla fudge (plus flexible swaps!):
| Ingredient | Purpose & Substitutions |
|---|---|
| 3 cups white granulated sugar | Creates structure. For deeper flavor, swap ½ cup with light brown sugar |
| ¾ cup heavy cream | Adds richness. Full-fat coconut cream works beautifully for dairy-free |
| ½ cup (1 stick) unsalted butter | For silkiness. Vegan butter substitutes perform well here |
| 2 tsp vanilla bean paste | Provides intense flavor. Use pure halal-certified extract (alcohol-free) as backup |
| Pinch sea salt | Balances sweetness |
Pro Tip: Using vanilla bean paste gives those gorgeous specks – it’s pricier but lasts months in the fridge.
Timing Your Fudge-Making Adventure
This easy vanilla fudge requires 45 minutes active time plus cooling – 65% faster than traditional methods requiring overnight setting!
| Phase | Duration |
|---|---|
| Prep & Cooking | 35 mins |
| Cooling | 30 mins |
| Total | 65 mins |
Step-by-Step Fudge Mastery
Combine & Melt – In a heavy saucepan, mix sugar, cream, and butter. Stir constantly over medium-low heat until sugar dissolves completely – no gritty feelings!
Temperature Triumph – Attach your candy thermometer. Without stirring, let mixture reach 235–240°F (soft-ball stage). Tip: Wash down sugar crystals on the pot’s sides with a wet pastry brush.
Cool & Flavor – Remove from heat. Let sit undisturbed until thermometer reads 110°F (about 25 minutes). Then add vanilla and salt.
Beat to Perfection – Vigorously stir with a wooden spoon until mixture loses its gloss (3–5 minutes). This aerates the fudge for that signature crumbly-yet-creamy texture.
Set & Slice – Quickly pour into parchment-lined 8×8 pan. Smooth top. Cool completely before cutting into 1-inch squares.
PART 3: Vanilla Fudge Customizations
Swirl-Ins & Texture Twists
Once you’ve mastered basic vanilla fudge, try folding in:
- Toasted chopped pecans or walnuts during step 4
- Crushed halal marshmallows for rocky-road vibes
- Citrus zest with the vanilla for bright contrast
Troubleshooting Common Fudge Fumbles
Grainy Texture? Sugar crystals likely formed from stirring too early or incomplete dissolving. Next batch, ensure all sugar dissolves before boiling.
Too Soft? The mixture didn’t reach 235°F. Use a calibrated thermometer next time.
PART 4: Serving & Storing Your Creations
Gifting Your Vanilla Fudge
Stack squares in parchment-lined tins between wax paper layers. Tie with twine and attach a vintage spoon – instant edible nostalgia!
Storage Solutions That Work
Keep homemade vanilla fudge fresh for up to 3 weeks:
| Method | Duration |
|---|---|
| Airtight container at room temp | 10 days |
| Refrigerated in sealed jar | 3 weeks |
| Freezer (thaw overnight in fridge) | 3 months |
Conclusion
Whether recreating family traditions or starting new ones, vanilla fudge remains the edible hug we all crave. My Granny Mae’s spirit lives on in every batch I make – especially when I inevitably set off the smoke alarm. Now grab that saucepan and stir up some sweetness. Got fudge questions? Find me elbow-deep in powdered sugar at FlavivoRecipes.com!