Latte art isn’t just for baristas at trendy coffee shops. With some practice, the right milk, and a little bit of creative courage, anyone can learn how to make latte art at home. Whether you’re creating a cozy morning ritual or impressing weekend brunch guests, mastering latte art blends visual delight with delicious flavor.
In this guide, I’ll walk you through exactly how to make latte art with simple gear, barista-style tips, and even some unexpected flavor flair from my kitchen here in Austin. You’ll also find helpful answers to your most burning latte art questions. So grab your espresso, fire up that steam wand, and let’s dive in.
The Spark Behind the Steam
Why Latte Art Captures the Heart
The first time I saw latte art I was backstage at a culinary expo in New Orleans. I wasn’t even planning to stop at the coffee booth, but a swirled white rosetta caught my eye. That single pour made me realize coffee could tell a story just like food does. When I later learned how to make latte art myself, it became a part of my routine—not just for photos, but for the ritual of it.
If I’m being honest, the whole process reminds me of Sunday dinners back in Georgia. You take time, put in care, and let each step carry meaning. Sure, latte art looks fancy, but at its core, it’s just one more way to connect—through sight, taste, and craft. When you learn how to make latte art, you’re not just making coffee; you’re making joy in a cup.
The Creative Side of Coffee
Food should be fun and unfussy—and the same goes for latte art. You don’t need a professional espresso machine to begin. You don’t even need professional skills. All you need is a love of coffee, some milk, and a willingness to try. I’ve experimented with Javy coffee desserts, transforming espresso into sauces, cupcakes, and more — so if someone says coffee art is too complicated, just show them your foamed leaf and prove them wrong.
With this guide, I’ll show you how to make latte art that works with what you have—and maybe encourage you to add your own twist.
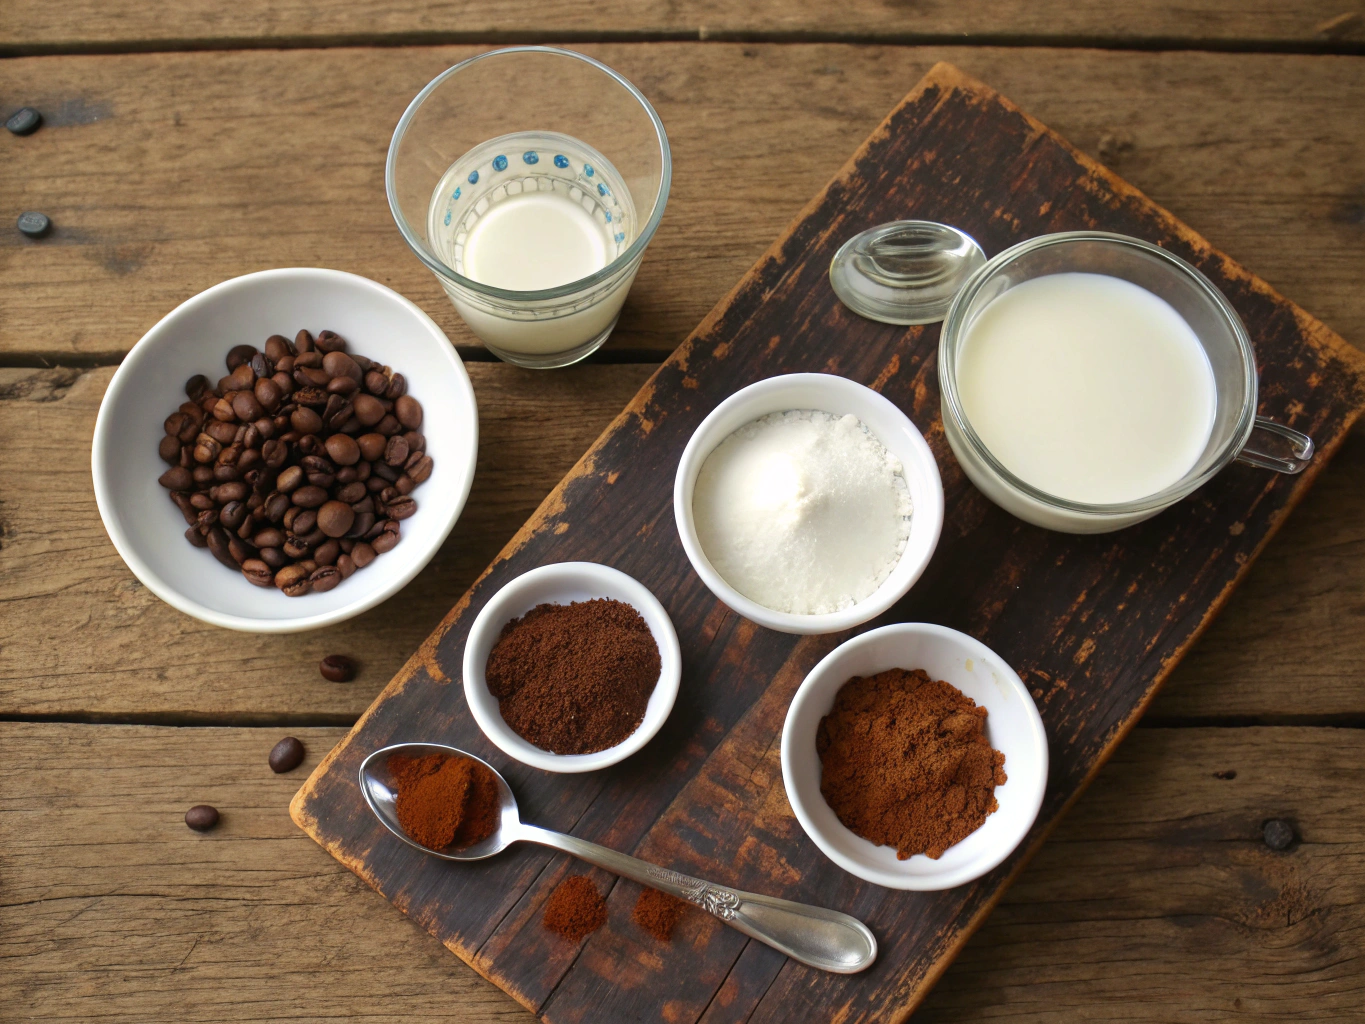
To make beautiful latte art, you need two key things: good espresso and properly textured milk. Here’s what I use:
Ingredient
Details & Substitutions
Espresso
Freshly brewed, strong and smooth. Substitute: strong brewed coffee from an Aeropress
Whole Milk
Best for microfoam. Substitute: Oat milk or barista-style almond milk
Milk Frother / Steam Wand
Essential for creating creamy foam. Substitute: French press for manual frothing
Ceramic Mug
Wide mouth helps with art pouring
Add-ins like flavored syrups, cinnamon dust, or even a little colored foam can bring some creative flair if you’re feeling adventurous.
Timing Your Coffee Craft
From prep to pour, making your first latte art takes about 10–15 minutes:
Prep beans and milk: 3 minutes
Brew the espresso: 2 minutes
Steam and texture milk: 3 minutes
Pouring and drawing design: 2–4 minutes
Final adjustments and garnish: 2 minutes
That’s under 15 minutes for an artwork you can actually drink.
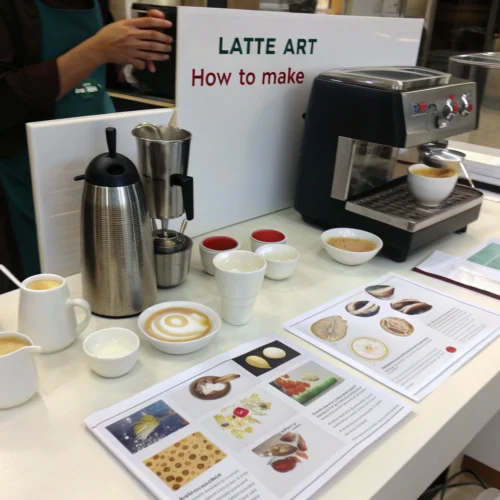
Step-by-Step How to Make Latte Art
Here’s how to make latte art in a way that’s approachable, quick, and satisfying.
Brew Your Espresso Use freshly ground beans and a good espresso shot with a thick crema. This is your canvas.
Steam and Texture Your Milk Heat milk to around 150°F and introduce air by bringing the wand just under the surface. You want microfoam—smooth, creamy, and velvety—not bubbly foam.
Swirl the Pitcher Swirl the milk to integrate foam with liquid. The result should be shiny and mirror-like. No dry foam crust.
Pour Into the Center Touch your milk pitcher to the rim of the cup at an angle. Then start pouring directly into the center. Begin higher, then lower as you create the design.
Wiggle or Drag to Create Art For a heart: pour until white spot appears, then pull through with a flick. For a rosetta: gently wiggle side to side as you pour forward.
Latte Art Pours to Master
Begin With the Classics
If you’re wondering what is the easiest latte art to learn, start simple. The heart is where most people begin. It’s forgiving and still looks impressive. The rosetta and tulip follow next and offer more complexity once you’ve mastered pouring from the right height and angle.
You can take inspiration from dessert plating too—I once used raspberry foam from a whipped canister, inspired by creating mocktails and unique raspberry leaf tea drinks, to add color to my latte art.
Art Meets Flavor
Why not blend latte art with flavor? Use steamed oat milk infused with lavender for a floral finish. Or try edible color powders like beetroot, matcha, or turmeric mixed into milk or layered foam. You’ll be adding taste and hue, making your latte both an experience and exhibition.
Looking to go bold? Combine trending ideas, just like we did with our infused blue cotton candy drinks. Color, texture, and shape can transform your homemade latte into an eye-catching masterpiece.
Want more technical deep-dives on milk types and foam compositions? The SCAoffers home brewer-friendly insights based on science—not just trends.
Troubleshooting and Pro Tips
What’s Making It Difficult?
Is latte art hard to make? It doesn’t have to be. The biggest mistake I see is using the wrong milk type or frothing method. Bubbly foam or under-frothed milk won’t hold shape. Fine-tuning milk temperature and pouring angles changes everything.
Another challenge: rushing. If you swirl too fast or tilt your cup at the wrong time, the design collapses. Slow down. It’s here where food connects to patience again—like prepping panna cotta, where gentle layering creates clean textures. You can pick up similar practice skills from my panna cotta recipe too.
Practice, Play, Repeat
Don’t be afraid to try again. I advise making 2–3 cups per session, practicing one design each time. I even freeze leftover steamed milk ice cubes to blend into my smoothie recipes later—zero waste!
When I started adapting vegan recipes, I discovered barista oat milk froths best. If you’re exploring dairy alternatives, check out easy vegan cupcake recipes to inspire similar substitutions.
Keep supplies organized, your espresso fresh, and your heart open—you’ll get better every cup.
FAQs
What do you need to make latte art?
You’ll need a good espresso shot, freshly steamed milk with microfoam, a milk frothing tool (like a steam wand or frother), and a wide mug for pouring.
What do baristas use for latte art?
Professional baristas use whole milk, commercial espresso machines, and specialized milk pitchers. They rely on consistent crema and textured foam to create detailed art.
The classic heart design is the best starting point for beginners. It requires basic control of pour height and center alignment.
Is latte art hard to make?
It can be tricky but very doable with practice. The key is understanding milk texture and flow control. Even simple designs can look elegant with the right technique.
Conclusion: Make Your Morning a Canvas
Now that you’ve learned how to make latte art, you’ve added one more beautiful, delicious technique to your kitchen toolkit. Whether you’re recreating classics or adding personal touches with colors and flavors, latte art is your excuse to slow down and savor.
Your next cup could be as creative as your favorite dish—and trust me, once you start pouring, you’ll never look at coffee the same way again.
Make latte art
Learn how to make beautiful latte art at home with easy steps, simple equipment, and pro tips to turn your daily coffee into a delicious canvas.
Optional Flavored syrup Vanillahazelnut, or caramel
Optional Edible powder Beetrootmatcha, turmeric for color
Optional Cinnamon or cocoa powder For garnish
Instructions
Prep the Espresso: Grind fresh coffee beans if using whole beans. Brew 1–2 oz espresso with a thick crema.
Steam the Milk: Heat milk to ~150°F (65°C). Use steam wand or frother to create smooth microfoam—avoid big bubbles.
Swirl the Milk: Swirl the milk in the pitcher to combine foam and liquid for a glossy texture.
Pour: Tilt the mug, pour milk from about 4 inches above, then lower the pitcher and pour into the center.
Create the Design: For a heart, pour until a white spot forms, then drag through with a flick. For a rosetta, gently wiggle side to side while pouring forward.
Add Flair (Optional): Dust with cinnamon or add a drizzle of flavored syrup.
Serve & Enjoy: Sip immediately and admire your masterpiece!
Notes
Practice makes perfect: make 2–3 cups per session to refine your pour.
For vegan latte art, barista oat milk works best for stable microfoam.
Keep leftover milk foam in ice trays to blend into smoothies—zero waste!
Experiment with edible powders for colorful designs.
Clean your steam wand or frother after each use to maintain foam quality.
Keyword latte art, homemade latte, how to make latte art, coffee art, barista coffee, steamed milk