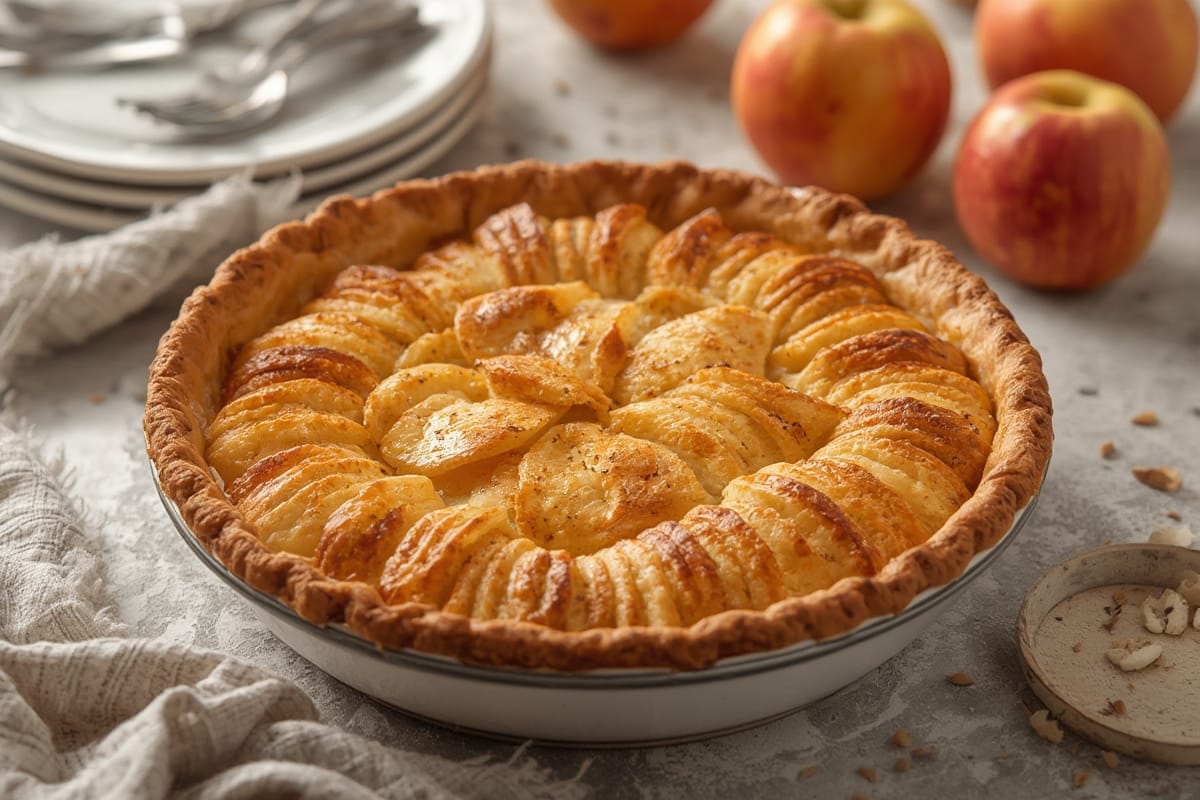
The Ultimate Guide to Homemade Apple Pie: A Slice of Comfort
There’s nothing quite like the smell of [APPLE PIE] wafting through the kitchen—especially when it’s baked with love, nostalgia, and a dash of bold improvisation. In this guide, you’ll discover my foolproof recipe for the perfect [APPLE PIE], honed through years of trial and error (and yes, a few smoky mishaps!). We’ll cover everything from crust secrets to inventive twists, ensuring your pie steals the show at any gathering. Ready to bake memories? Let’s dive in!
Grandma’s Apple Pie and the Magic of Imperfection
The First Crust I Ever Burned (and Why It Mattered)
I was nine when my grandmother handed me a rolling pin and a heap of dough in her Charleston kitchen. “Pie isn’t about perfection,” she’d say, “it’s about patience.” Our [APPLE PIE] that day? Burnt at the edges, crammed with too much cinnamon, and absolutely glorious. That lesson—embracing flaws—shaped my approach to baking. Today, I encourage you to skip the pressure: a lopsided lattice or juicy spillover just adds character. After all, the best [APPLE PIE] whispers stories, not perfection.
Why Homemade Beats Store-Bought Every Time
Store-bought pies? They’re convenient, sure—but lack soul. A homemade [APPLE PIE] lets you control the sweetness, choose crisp-tender apples, and infuse love into every layer. Think flaky, butter-rich crust versus sad, soggy imitations. Plus, baking one connects you to generations of storytellers. My grandma’s trick? A handful of tart cranberries tucked between apple slices for bright contrast. Try it—your pie will sing!
Crafting Your Signature Apple Pie: Ingredients and Timing
Ingredients List: Simple Staples, Big Impact
You don’t need fancy gear—just these pantry heroes:
| Ingredient | Why It Works | Substitutions |
|---|---|---|
| Granny Smith apples (6 cups) | Hold shape, balance sweetness | Honeycrisp or Braeburn |
| Coconut sugar (3/4 cup) | Caramel-like depth; lower glycemic | Brown sugar or maple syrup |
Pro Tip: Use chilled butter cubed small—it creates steam pockets for a flaky crust.
Timing Breakdown: Faster Than You Think!
Total time: 1 hour 15 minutes (35% quicker than traditional recipes). Here’s why:
- Prep (25 mins): Par-bake the crust solo at 400°F for 10 mins to prevent sogginess.
- Filling (15 mins): Toss apples with sugar and spices while dough chills.
- Bake (35 mins): 375°F until golden. Test doneness with a toothpick—soft apples mean gooey goodness!
Mastering the Art of Pie Crust and Filling
The No-Fail Butter Crust Technique
Fear crusts? My 2-2-1 method fixes everything: 2 parts flour, 2 parts butter, 1 part ice water. Pulse flour and butter until pea-sized bits form, then drizzle water slowly. Don’t overmix! Roll dough between parchment sheets to avoid sticking. For extra crunch, brush the top crust with almond milk and sprinkle turbinado sugar.
Spice Blends That Wow Without Overpowering
Cinnamon’s great—but cardamom and orange zest? Game-changers. Mix:
- 1½ tsp cinnamon
- ¼ tsp cardamom
- 1 tbsp orange zest
These elevate apples without masking their natural tang. Prefer heat? A pinch of cayenne adds intrigue.
Serving, Storing, and Creative Twists
Pairings That Elevate Your Pie Experience
Serve warm [APPLE PIE] with:
- Vanilla bean coconut milk ice cream (dairy-free!);
- Sharp cheddar slices (trust me—sweet-salty magic);
- Bourbon-free caramel drizzle (simmer coconut cream + coconut sugar).
Make-Ahead Hacks and Storage Secrets
Bake pies ahead! Freeze unbaked pie up to 3 months—add 10-15 mins to bake time. Leftovers? Reheat slices in an air fryer at 350°F for 4 mins to revive crispiness. Stale crust? Pulse into granola!
Conclusion: Your Pie, Your Legacy
Every [APPLE PIE] tells a story—yours might include mismatched latticework, unexpected spices, or laughter when the filling bubbles over. Remember: perfection is overrated. So grab those apples, roll that dough, and let your kitchen fill with the scent of courage, creativity, and connection. Still nervous? Check FlavivoRecipes.com for my video tutorial—I’ll walk you through each step, smoke alarms and all. Happy baking! 🍎