
Understanding Crème Brûlée and Caramelization
1. Introduction to Crème Brûlée
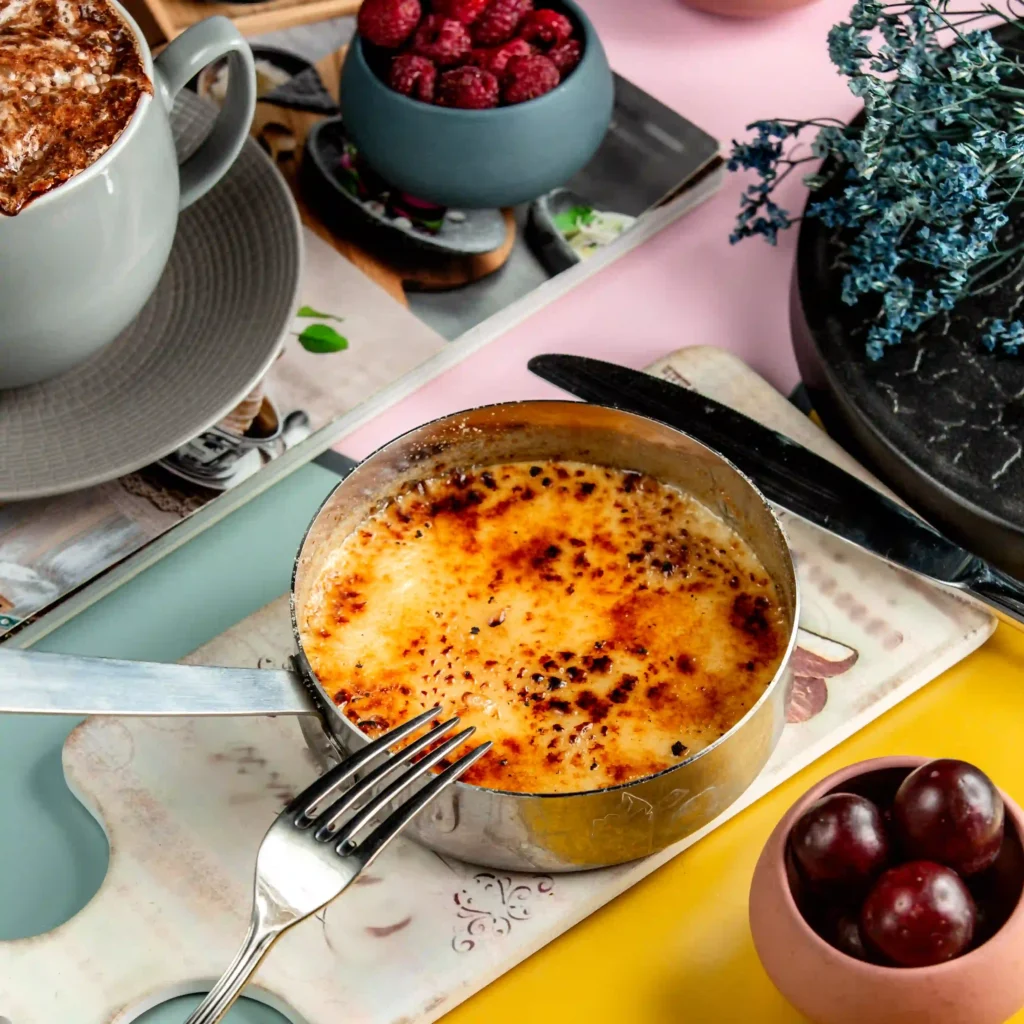
Crème brûlée is a classic French dessert that combines a rich custard base with a hard, caramelized sugar topping. Learning how to caramelize crème brûlée is essential to achieving its signature golden-brown crust, which provides both flavor and texture. Notably, its name translates to “burnt cream,” referring to the torching process used to create the sugar crust. From a historical perspective, this dessert has its roots in European cuisine. Over time, however, its popularity has soared globally, eventually becoming a staple on fine dining menus.
The crispy caramel layer isn’t just for aesthetics; rather, it adds a textural contrast to the smooth custard, thereby elevating the entire dessert. Furthermore, to achieve the perfect caramelization, understanding the science behind sugar caramelization is essential.
2. Ingredients Required for Crème Brûlée
Creating a stellar crème brûlée requires a handful of simple yet high-quality ingredients. To master how to caramelize crème brûlée, start with heavy cream, which forms the foundation of the dessert, providing a rich and silky custard base. Next, granulated sugar is essential—not only for sweetening the custard but also for achieving the perfectly caramelized topping. When learning how to caramelize crème brûlée effectively, superfine granulated sugar works particularly well, as it melts evenly and creates the iconic golden crust.
Additionally, egg yolks are used to achieve the dessert’s creamy and luxurious texture. To enhance the flavor, vanilla beans are preferred, offering a fragrant and authentic touch that elevates the dish.
When it comes to the caramel topping, it’s important to choose the right type of sugar. Granulated or turbinado sugar caramelizes evenly under the heat of a kitchen torch, creating a perfect golden crust. In contrast, powdered sugar should be avoided, as it burns too quickly and can spoil the desired texture and flavor.
3. Tools Needed for Caramelization
To caramelize crème brûlée effectively, you need the right tools. A high-quality kitchen torch is ideal for even heat distribution, ensuring a smooth caramel crust. Alternatively, you can use an oven broiler, though it requires closer monitoring for precision.
For inspiration, you might explore how caramelization techniques are applied in other gourmet dishes, such as Savory Crème Brûlée, where bold flavors complement creamy perfection.
- Kitchen torch: This tool ensures even heat distribution, giving the caramel a golden-brown hue.
- Broiler: An alternative to the torch, but it may not provide the same precise control.
- Heatproof ramekins: Essential for even baking and handling during caramelization.
4. Science Behind Caramelization
Caramelization occurs when sugar molecules break down under high heat, transforming into a golden-brown crust. Understanding how to caramelize crème brûlée involves mastering this process, which requires temperatures between 320°F and 350°F (160°C to 175°C). During caramelization, the sugar undergoes a chemical reaction that releases complex flavors, ranging from nutty to slightly bitter, adding depth and richness to the dessert.
Several factors can affect caramelization:
- Sugar type: Refined granulated sugar melts smoothly, while brown sugar adds richer notes.
- Humidity: High moisture levels can prevent sugar from achieving the ideal crisp texture.
5. Step-by-Step Process to Caramelize Brûlée
Preparing the Custard
- Mix ingredients: Whisk together egg yolks, sugar, and vanilla. Gradually incorporate heated cream.
- Bake the custard: Pour the mixture into ramekins and bake in a water bath until the custard is set.
Caramelizing the Sugar Topping
- Step 1: Begin by cooling the baked custard in the fridge for at least two hours. This step is crucial as a chilled base ensures the sugar crust forms more evenly.
- Step 2: Once the custard is properly chilled, sprinkle an even layer of sugar over its surface. For best results, rotate the ramekin while sprinkling to achieve consistent coverage.
- Step 3: Next, use a kitchen torch to melt the sugar gradually. To avoid scorching, move the flame in circular motions, allowing the sugar to bubble and brown evenly. Take your time to achieve a perfectly caramelized, golden crust.
For those exploring crème brûlée’s nuances, What Does Crème Brûlée Taste Like? provides a detailed guide to its flavor and texture.
Troubleshooting Common Issues
Even experienced chefs can face challenges when learning how to caramelize crème brûlée. Here’s how to address some of the most common problems to ensure your dessert turns out perfect every time:
- Uneven caramelization:
If the sugar layer is blotchy, it’s likely due to uneven application. Spread the sugar as evenly as possible before torching. Use a fine-mesh sieve to ensure a uniform layer. - Burnt sugar:
Overheating the sugar can result in a bitter, charred crust. To prevent this, keep the kitchen torch moving in a circular motion. Furthermore, avoid lingering on one spot, as this could cause uneven caramelization. - Sticky or soggy caramel:
This issue usually arises from insufficient heat or high humidity. Ensure the sugar is caramelized to a hard crack stage and allow the brûlée to cool slightly before serving to maintain its crispness.
Enhancing Flavor Variations
While the classic vanilla crème brûlée is a timeless favorite, experimenting with flavors can elevate your dessert game. Consider these creative options:
- Infusions for the custard:
- Coffee crème brûlée: Add a shot of espresso to the cream before heating.
- Citrus twist: Infuse the custard with orange or lemon zest for a bright, zesty flavor.
- Alternative sugars for caramelization:
- Brown sugar: Adds a molasses-like depth to the caramel layer.
- Muscovado sugar: Provides a hint of smokiness.
- Toppings and pairings:
- Fresh berries or edible flowers for garnish.
- Serve alongside biscotti or a shot of espresso for an elegant touch.
FAQs: People Also Ask
1. What is the best sugar to use for caramelizing crème brûlée?
Granulated sugar works best due to its fine texture, which ensures even melting. Turbinado sugar is another great option for added crunch and flavor.
2. How long does it take to caramelize with a torch?
Caramelizing sugar with a torch typically takes around 1–2 minutes. In order to achieve even caramelization, keep the flame moving in circular motions. Additionally, avoid lingering too long in one spot, as this can cause the sugar to burn.
3. Can I caramelize without a torch?
Yes, you can use an oven broiler as an alternative. For best results, place the ramekins on the top rack and monitor them closely. Keep in mind that sugar caramelizes quickly under high heat, so check frequently to avoid burning.
4. Why is my caramel bitter?
Bitter caramel is often the result of over-torching the sugar. To prevent this, aim for a golden-brown color. Stop caramelizing as soon as the sugar melts and bubbles, and avoid letting it turn too dark, which produces a bitter taste.
5. How to fix uneven caramelization?
If the sugar melts unevenly, reapply a thin layer of sugar and torch again. Be sure to spread the sugar evenly before starting.
Serving and Presentation Tips
Presentation is key to impressing guests with crème brûlée. Here are a few tips:
- Use small ramekins for individual servings, ensuring everyone gets their own perfectly caramelized portion.
- Add visual appeal with garnishes such as fresh mint leaves, edible flowers, or a drizzle of caramel sauce.
- Serve immediately after caramelizing to preserve the signature crunchy texture.
Storing and Reheating Tips
If you’re making crème brûlée ahead of time, follow these storage tips to maintain quality:
- Refrigeration: Store the custard (before caramelizing) in the fridge, covered, for up to 2 days.
- Caramelization: Perform this step just before serving to avoid the sugar layer becoming soggy.
Perfecting the Crème Brûlée Experience
Mastering the art of crème brûlée goes beyond technique; indeed, it’s about creating a truly memorable culinary experience. From start to finish, every detail matters—from selecting quality ingredients to understanding how to caramelize crème brûlée with precision and flair. Moreover, each step contributes to its allure, from the smooth custard base to the crisp caramel topping. With that in mind, let’s delve deeper into some advanced tips and additional aspects that can help you make your crème brûlée flawless.
6. Adding Texture and Visual Appeal
One of the most striking features of crème brûlée is the delicate interplay between its smooth custard and crispy caramel topping. To enhance both texture and aesthetics, consider the following:
- Layered textures:
Add a layer of fresh fruit or jam (like raspberry or apricot) beneath the custard for an unexpected burst of flavor. - Creative caramel patterns:
Instead of spreading sugar uniformly, try creating patterns using stencils or sprinkle uneven layers for a rustic look. - Topping with edible accents:
Garnish with edible gold flakes, a light dusting of powdered sugar, or even candied orange zest to elevate its appearance.
7. Pairing Crème Brûlée with Complementary Flavors
A well-paired accompaniment can take your dessert to the next level, especially when you’ve perfected how to caramelize crème brûlée. Consider these pairings:
- Beverages:
- Espresso or cappuccino balances the richness of the brûlée.
- Savory contrasts:
- Serve alongside salted caramel sauce or spiced nuts to add a savory twist.
- A side of lightly salted shortbread or biscotti provides an excellent contrast to the sweetness.
- Dessert platters:
Combine miniature brûlées with other bite-sized desserts, such as truffles or macarons, for a tasting experience.
8. Experimenting with New Techniques
For those looking to elevate their culinary skills, experimenting with modern techniques can make your crème brûlée stand out:
- Sous-vide crème brûlée:
Cooking the custard base sous-vide allows for precise temperature control, resulting in a perfectly creamy texture. - Liquid nitrogen caramelization:
Although advanced, this technique creates an instant caramel crust with an extra level of crunch and intrigue. - Spiced caramel toppings:
Infuse the sugar with spices like cinnamon, nutmeg, or cardamom before caramelizing to add depth to the flavor.
Summary: Bringing It All Together
Creating the perfect crème brûlée is as much about technique as it is about creativity. Whether you stick to the classic recipe or venture into innovative flavor profiles, the key to success lies in mastering the caramelization process.
- To begin with, start with high-quality ingredients to build a strong foundation for your crème brûlée.
- Next, use proper tools, such as a kitchen torch, to ensure precision and control during the caramelization process.
- If challenges arise, troubleshoot common issues to ensure a flawless dessert. For example, address uneven caramelization or runny custard by refining your technique.
- Finally, experiment with flavors, textures, and presentation to truly make your crème brûlée unforgettable.
Elevating Your Crème Brûlée Mastery
Even with a strong foundation, there are additional steps and tips that can help you turn your crème brûlée into a masterpiece worthy of admiration. These advanced methods focus on maximizing flavor, ensuring professional-level execution, and enhancing the overall experience for your diners.
9. Customizing Crème Brûlée for Special Occasions
Crème brûlée’s versatility makes it ideal for themed events, festive celebrations, or intimate dinners. Customize it for any occasion with these ideas:
- Seasonal infusions:
- In autumn, you can add pumpkin purée along with warm spices like cinnamon and nutmeg to create a comforting pumpkin spice crème brûlée.
- Meanwhile, in spring, consider using lavender or elderflower extracts to craft a light and delicate floral flavor that captures the essence of the season.
- Personalized servings:
Use stencils to dust powdered sugar or cocoa onto the caramelized top with custom designs, such as initials, hearts, or seasonal patterns.
10. Advanced Caramel Techniques
The signature caramel crust is the highlight of crème brûlée, and perfecting it requires attention to detail. Explore these advanced techniques:
- Double caramelization:
After the first caramel layer cools, sprinkle another thin layer of sugar and caramelize again. This creates an extra-crisp crust with a rich flavor. - Mixed sugar blends:
For a deeper flavor, blend white sugar with a small amount of brown sugar to create a more complex caramel profile. However, be cautious, as brown sugar caramelizes faster and requires close monitoring. - Flavored sugar dusts:
Infuse granulated sugar with vanilla pods or citrus zest for a subtle, aromatic twist. Let the sugar dry completely before using.
11. Common Missteps and How to Avoid Them
Even with careful preparation, mistakes can happen. Here’s how to troubleshoot common issues before they ruin your dessert:
- Custard too runny:
This often happens if the custard is underbaked. Make sure it jiggles slightly in the center but is firm around the edges when you remove it from the oven. - Cracked custard:
Cracks can form when the custard is overcooked. To prevent this, bake it in a water bath, as this method ensures even cooking and protects the custard from excessive heat. - Sugary texture in custard:
If the custard feels grainy, it’s likely due to overbeating the egg yolks with sugar. Mix gently until just combined.
12. Adding a Savory Spin
Although crème brûlée is traditionally a dessert, its technique can be creatively adapted for savory dishes. For those who enjoy experimenting in the kitchen, here are a few savory crème brûlée variations to try:
1. Cheese Crème Brûlée:
Instead of sugar, replace it with grated Parmesan or Gruyère to create a crispy, salty topping. This variation makes an excellent starter, pairing well with fresh greens or crusty bread.
2. Herb-Infused Custard:
For a gourmet twist, infuse the custard base with fresh herbs like thyme, rosemary, or sage. Top with a sprinkle of flaky salt and garnish with fresh herbs to elevate both flavor and presentation.
3. Seafood Brûlée:
For a bold option, incorporate delicate flavors like crab or lobster into the custard. Finish with a topping of caramelized breadcrumbs or melted cheese for a dish that is both indulgent and unique.
13. The Psychology of Serving Crème Brûlée
The sound and texture of cracking through the caramelized sugar layer is not only satisfying but also one of the most memorable aspects of enjoying crème brûlée. To further enhance this sensory experience, consider implementing these tips:
1. Highlight the “crack”:
Serve the dessert in a quiet setting where the sound of the caramel crust breaking can be fully appreciated. This subtle detail adds an auditory element to the dining experience, making it even more engaging.
2. Emphasize temperature contrasts:
Serve the custard slightly chilled while ensuring the caramel topping is freshly torched and warm. This interplay between cool and warm temperatures creates a delightful and dynamic sensory experience, enhancing the overall enjoyment.
3. Encourage interaction:
Provide guests with small, elegant spoons that emphasize the ritual of cracking the crust and revealing the smooth custard beneath. This simple gesture not only enhances the tactile experience but also fosters a deeper connection with the dessert.
Conclusion: Mastering Crème Brûlée
Crème brûlée is more than a simple dessert; it’s a combination of artistry, technique, and science. By focusing on quality ingredients, mastering how to caramelize crème brûlée with precision, and experimenting with creative adaptations, you can transform this timeless dish into a showcase of your culinary skills.
Remember:
1. Perfecting the caramel crust requires patience and practice.
Over time, consistent effort and attention to detail will help you master this crucial step.
2. Experimenting with flavors and presentations allows you to tailor the dessert to any occasion.
For instance, consider infusing the custard with unique flavors like lavender or orange zest, or using decorative ramekins for a personalized touch.
3. Troubleshooting and refining your methods will help you achieve consistent success.
If issues arise, such as uneven caramelization or runny custard, use these moments as learning opportunities to adjust and improve your technique.